Castella Horse Arena

Location
- Castella
Completed
- 2025-08-22
Job Summary
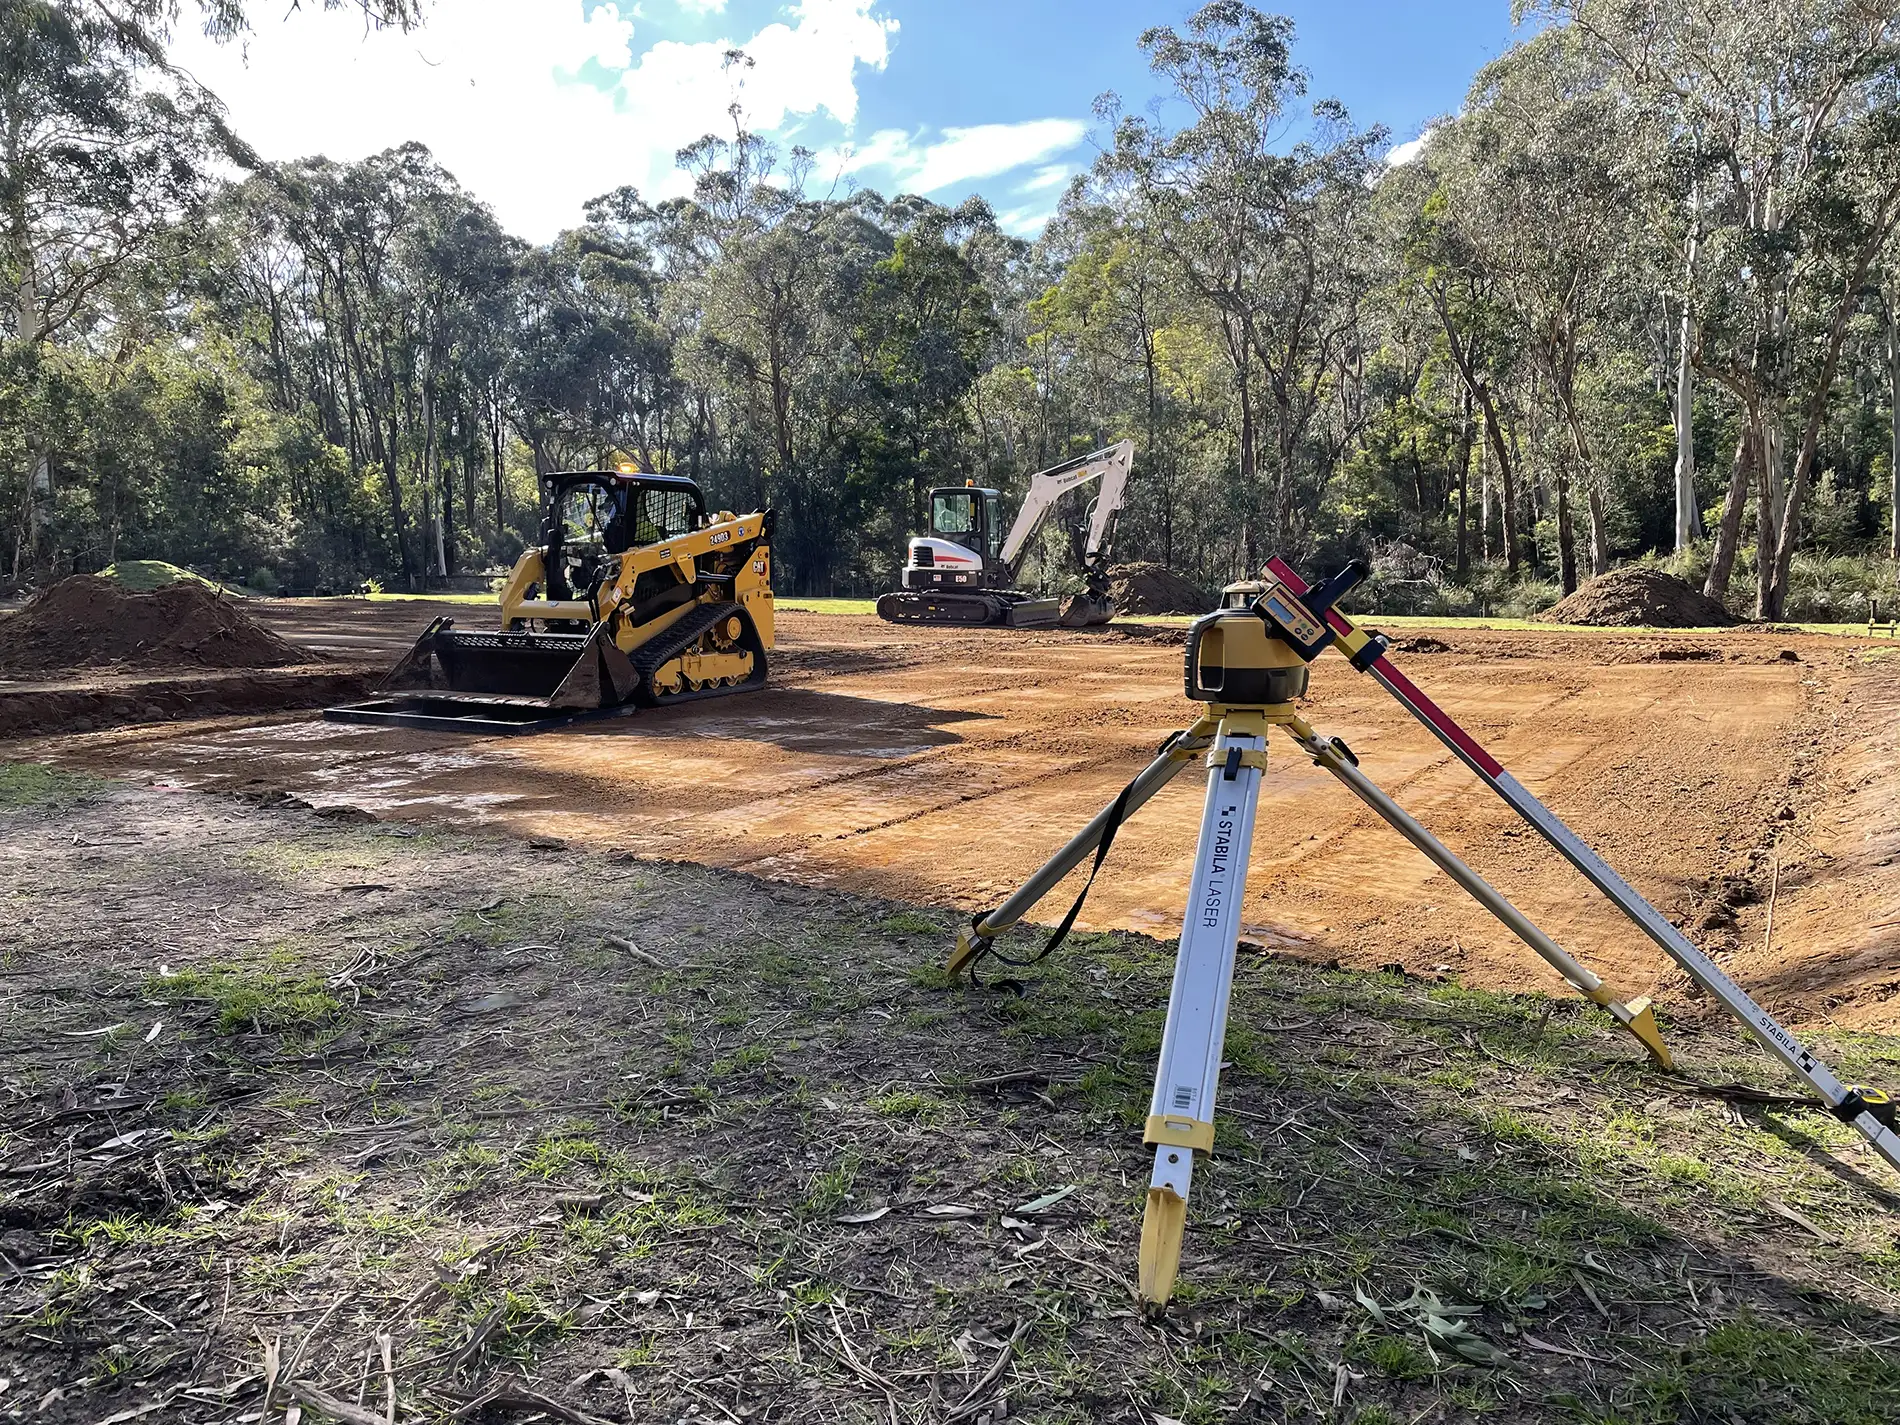
- Levelled site and spread gravel for horse arena
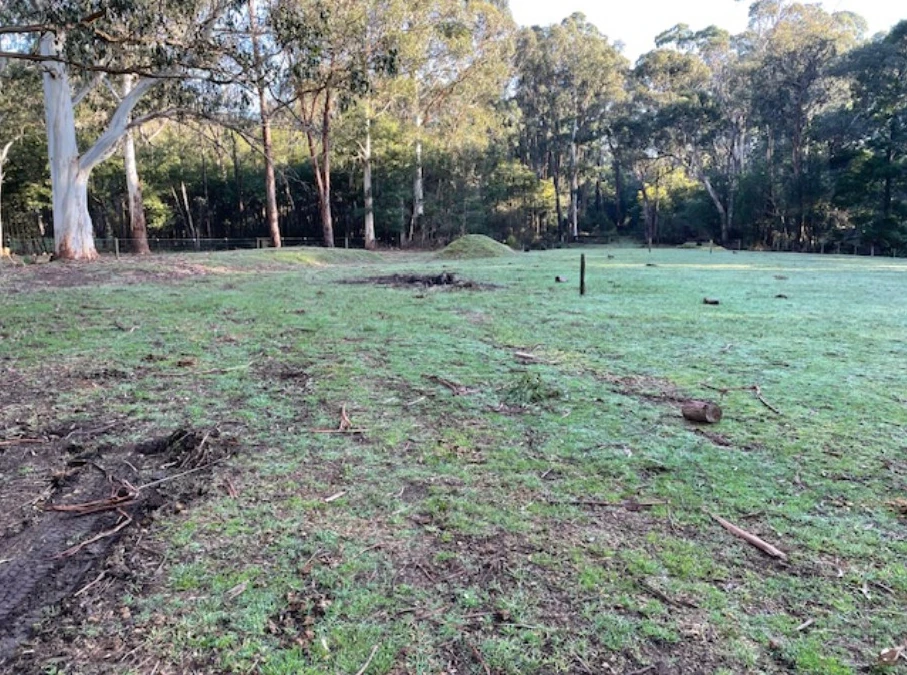
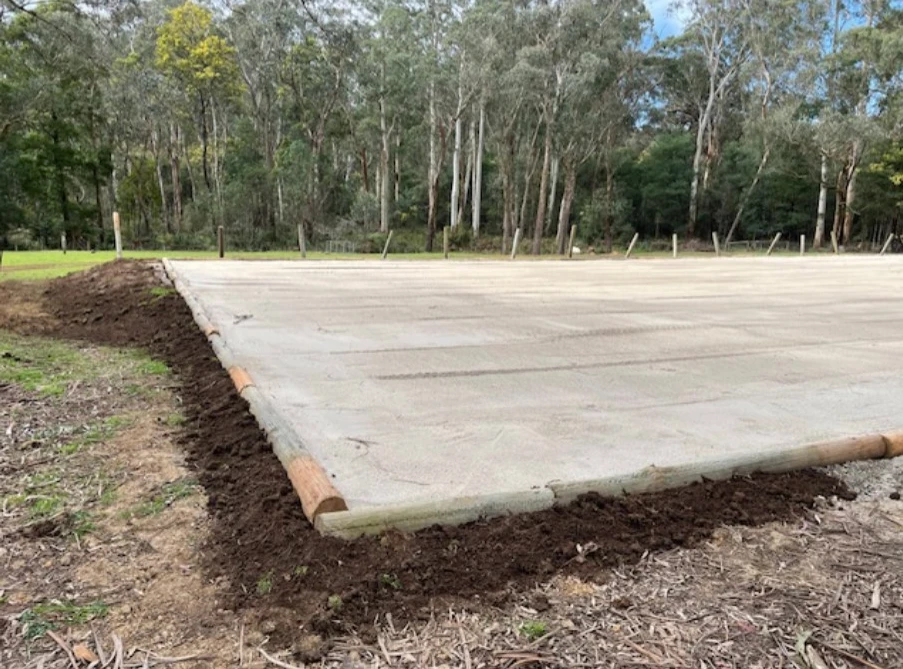
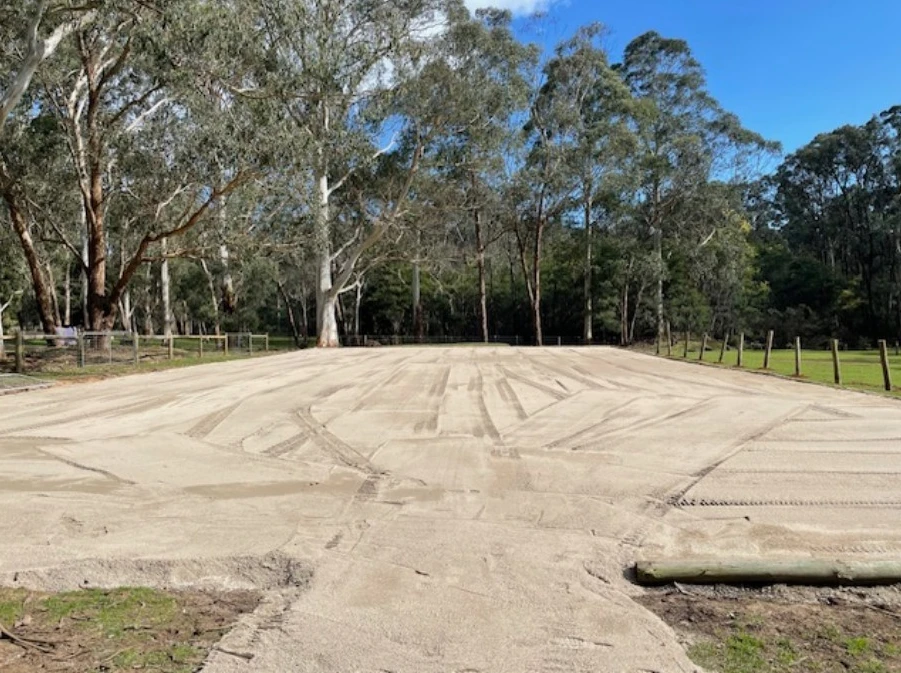
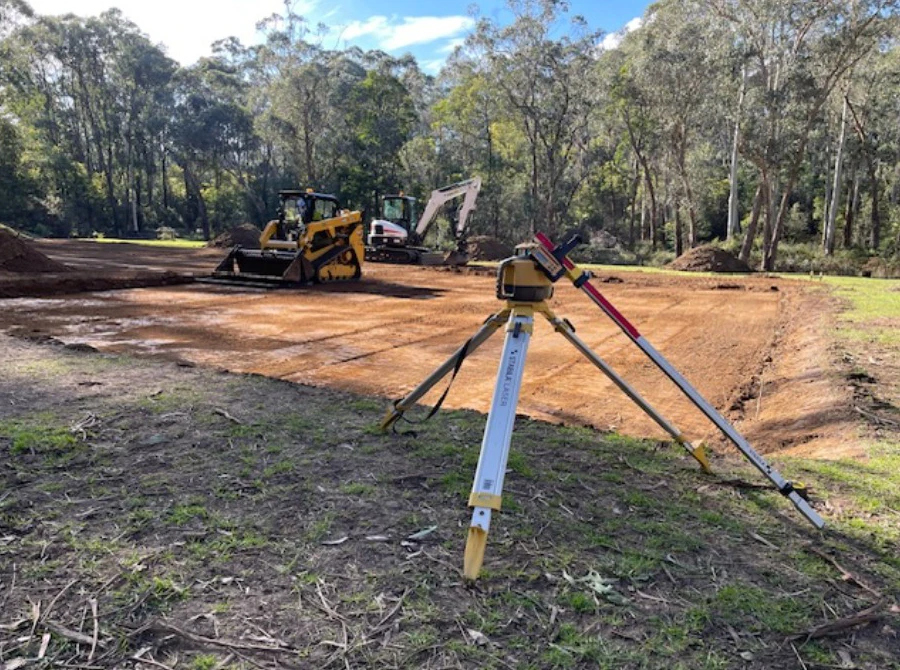
- Man I loved this job! An arena is one of my favourite projects to build. I grew up with a mother who loved horses, judged, taught at pony club and my daughter is a mad keen horse rider as well so I love to be involved in horse activities of all kinds. Arena building is something I can do that gives me deep satisfaction, especially when I see the riders out for the first time! Not everyone has multiple hundreds of thousands to spend on an arena and truth be told most casual riders do not need hi tech footing materials such as fibre. A simple crushed rock and river sand arena is perfectly fine as long as the levels are accurate and drainage is done properly and this is the type of arena we specialise in. It is affordable, good quality and easy to maintain. We assessed the area on this project and decided along with the property owner to go with a 20 x 40 arena positioned close to the Southern fenceline as it fitted the paddock shape well and didn’t affect the grazing area too much. The location also gave us around a 1 meter cut and fill which would keep us up off the bedrock and help to keep the excavation costs down. The first step after marking out the position is to strip the topsoil, this we keep to the side for topdressing later on. While on marking out, how do you make sure the corners are 90 degree and the sides parallel on such a huge area ? Some machines have GPS which will map this out for you but for this project we went old school, stringlines, a laser and Pythagorean theorem. I have since purchased a lay out tool that automatically calculates the angles and corner positions for me but it feels like cheating. I think it’s good to know how to do things the old way – even when we can use new equipment to speed things up. The cut was pretty simple, we excavated on a 1% cross fall which a rider will not feel but it allows the water to run off the surface gradually during heavy rain without scouring. Usually we would include sub surface drainage as well but it was not within the scope on this project so we had to make sure the levels were bang on! After the cut and fill was completed and the low side compacted we arranged delivery of the base layer from Castella quarries. From memory this was a 20 mm class 3 stone which is great to use as class 3 material must be crushed using a cone crusher and this gives the chips a more rounded edge than a cheaper class 4 material. This is easier on the horses feet should they break though the river sand layer. Geo textile material was placed between the ground and the crushed rock layer. Once the stone is graded out and compacted we then installed 80mm of Yea River sand as the top layer or footing material. This depth is appropriate for dressage and flat work as well as low level jumping. If you are a show jumping gun you would want to look seriously at using a fibre based material. Castella in winter when this project was completed was a challenge and we struggled to get the trucks to the area. Sometimes you just have to go with the flow, ALL of the river sand had to be moved from the main driveway onto the arena using our Cat Track loader. This took a while but was the least destructive and most efficient vehicle to use. We graded the sand out being careful not to punch through into the crushed rock layer and then finally raked the arena and it was ready to go ! The property owner installed the fencing and full rounds to the edges to save some money so unfortunately we did not get photos of the fully finished product. The last photos are of the sand roughed in before the final grading.